Though the concept of Ping Pong Robots was only popularised lately, it was a 1980 innovation. This machine shoots the ball on the opposite end so that you can carry out solo practice sessions.
Some of these machines feature a net structure that captures balls on the other end. You will realise that a good ping-pong playing robot uses AI to judge its opponent's skill level on various occasions. These machines come with a customizable design so that you can set your preferences and get a suitable output as per your need.
Some of these machines feature a net structure that captures balls on the other end. You will realise that a good ping-pong playing robot uses AI to judge its opponent's skill level on various occasions. These machines come with a customizable design so that you can set your preferences and get a suitable output as per your need.

Most of these machines can be purchased online, but if you are in the mood to try your hands on making it on your own. That's pretty much possible too. You will come across many DIYs which could get the job done for you, but not all of them will be effective.
Best Ping Pong Robot DIY Online
|
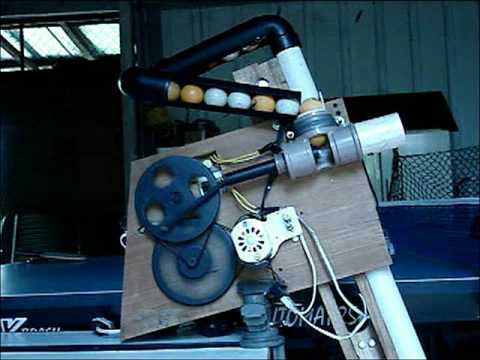
When we talk about a basic ping pong robot, it has got three main components on it.
The machine first has to be divided into three parts- frame, electronics, and finally the software. Before starting the project you have to know all the basic tools which are needed for the project. You will need a measuring tape, wooden saw, stapler, drill, staple gun, 3D printer or any other printing service, multimeter, soldering iron, PC with a USB support.
|
|
The Framing
|
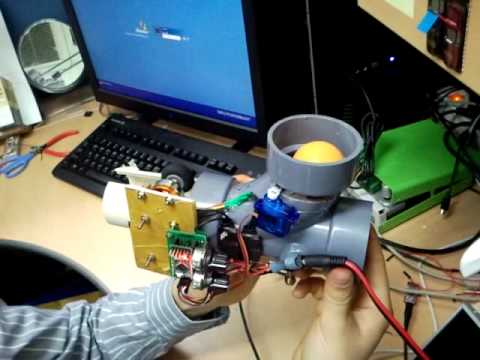
Here the framing has got an assembly which has got 2x4, 1x2, plywood, and the necessary brackets or the screws. For the powering, you will require elements like ATX Power Supply, Servos, Micro-controller, Motors, etc.
You can also make use of the 16x2 LCD character which falls in the Arduino controller. The IR sensor will allow you to control the machine from a remote place, therefore no need to program it again and again. |
|
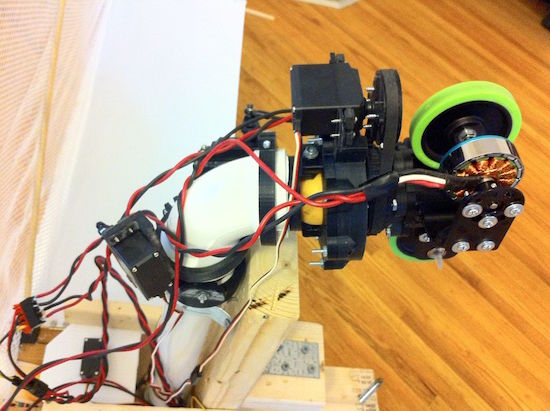
The Construction - How's it all connected
Following is the complete construction steps, that will help you out in making the robot in an easier way:
Was this post helpful to you? Have you tried making a Ping Pong Robot by yourself? Share your method and tips, in the space provided below. For more updates, you can do a follow on our page.
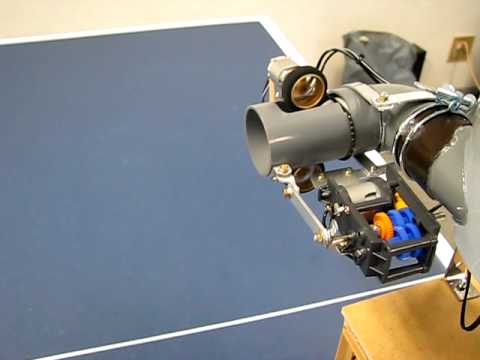
- From the power supply take 12V and apply it as the input to the Arduino Power and the speed controllers. Make sure that you use the right plug for the connections.
- Whereas the 5V output from the supply goes into the 5V input on board side to power the servo. Do not connect the 5V output of the Arduino to power the servos, since the Arduino won't be able to handle the high power of the servos. The servos also demand high power.
- The motors and the speed controllers - together come with three leads on it. One of the leads goes to the motor directly, while the other two goes as the input to the relay. This construction is done for reversing the direction of the motor. There is a 5V on the board alongside the 1N4004 which goes into the relay input, while the other two ports below the 1N4004 go for the relay ground.
- Also, note that as you increase the number of the motors you will require additional relays and other control circuits.
- If you are planning to set LCD on this construction, then you will require settings for adjusting the contrast on it. You can make use of potentiometer for adjusting the contrast. You can place them close to the LCD, so you will only need 8 wires for connecting the Arduino to the LCD.
Was this post helpful to you? Have you tried making a Ping Pong Robot by yourself? Share your method and tips, in the space provided below. For more updates, you can do a follow on our page.
